This is a follow-up of the cardboard game-controller exercise. To read more about the process leading up to this project, including the introduction to Arduino, read here.
As the previous journal entry regarding this project states, our final plan was to create seesaw boards for the feet with a cardboard base. Each board represents a leg, and the four widths of the two rectangular boards will be represented as a button to press. These buttons will be executed using the Arduino board, creating buttons with the Arduino editor, and copper tape for contact. The project brief states for the game controller to afford more than one player as a “multiplayer game”, even though the game usually involves one person. Hence why the idea of having two feet board was formulated.

As I’ve stated earlier, the seesaw affords the motion of leaning back and forth, or swinging back and forth, so we thought it was a perfect way of implementing it into our controller design because it also incorporates the movement of legs to further enhance the thrill of it being a “running” game. These two seesaw boards also only afford four buttons as it’s impossible to maneuver the seesaw in the other direction (horizontally- left and right), which is appropriate for our four-buttoned game.
On the previous day of working with this project, we had completed the software part, which was coding the “buttons” on the Arduino board using the Arduino online editor. A fifth button was also added in addition to the four buttons used for the seesaw controller to represent the space button, which you may press when you lose the game and would like to restart.
The code on the Arduino online editor looked something like this →
As you can see, five buttons are created and all placed on a different pin, I first checked if this worked by physically attaching the five buttons on the board. It worked fine. So how did we implement these buttons onto the controller? The process is simple. After completing all of our parts to the seesaw; including the more sturdy top boards with footprints as design to illustrate which leg each board represents, two thin but sturdy long blocks of wood placed between the bottom foundation and the top board which the top board balances on, and the foundation board at the very bottom, we were ready to connect our wires and copper tape, each width edge of the seesaws get two long strands of copper tape to ensure that they are able to make contact when you lean backward or forward, that means a copper tape was attached to both the bottom of the sturdy top board and one to the top of the foundation, so when you lean towards one direction the bottom of the sturdy board will make contact with the foundation cardboard, which triggers the button press! I will attach some images so all of these make a little more sense with the assistance of diagrams.


We also created a restart button after discovering a round block made up of some material that resembled concrete… which had the perfect size for our button. We attached a self-made spring using a long strand of paper to the centre of the circle, and a round piece of cardboard with the same area as the concrete button foundation to create a device that resembles an actual button! We covered the entire area where the bottom of the cardboard layer makes contact with the top of the concrete foundation with copper tape to simulate the pressing of a button. This however, didn’t work well when we began the actual game run-throughs as the contact is not as effective as the boards and people tend to resort to pressing the space bar on the computer keyboard instead.

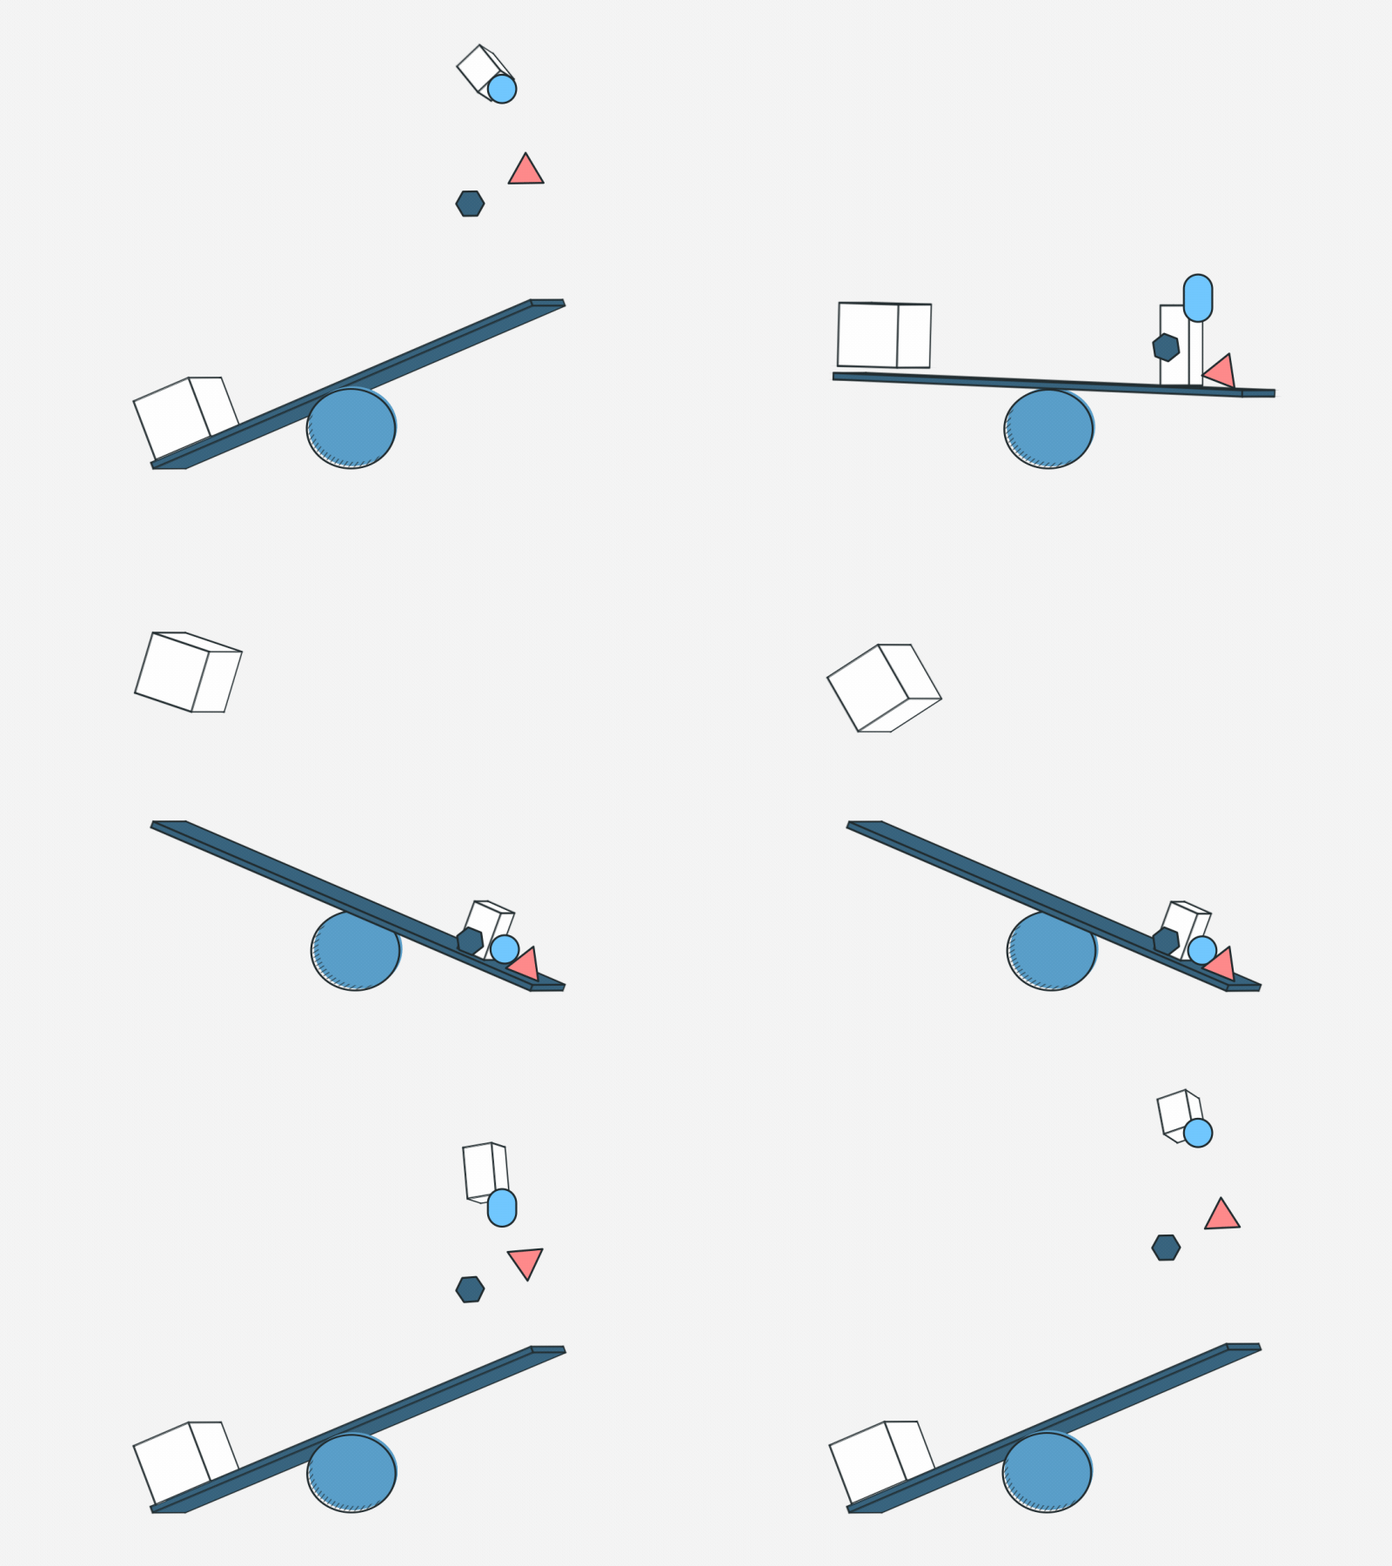
With all of this complete, we were ready for the actual game play! Overall, people thoroughly enjoyed the experience of the game and the controller did not fall apart at all, we were worried about people leaning back and forth too vigorously and how that might break the controllers but this didn’t occur at all. As I mentioned earlier, the space button did not work as well, people tend to resort to the space key on the laptop after one or two tries with our button. This game is intentionally created to be hard to beat, even with the keyboard, so nobody was able to run the full 100 meters, but some went as far as 15 meters, impressive. Take a look at other users trying out our game in the GIFs below:
Learning outcomes?
This was a useful prototyping exercise, I’ve mentioned a couple of times in different journal entries about the significance of prototyping and this short but rewarding project brought that to life.
Why is cardboard prototyping relevant? Cardboard prototyping is a common lo-fi method to prototype and test physical objects and environments. This assists further exploring and validating core functionality and the role of these objects in the context of the future service, therefore, cardboard prototyping is often used in conjunction with or as part of walkthrough approaches, like our game controller. Prototypes made from cardboard are cheap and very easy to create, like paper prototypes, they’re created to be thrown away. This makes it easier for those who created the prototype to let go, reflect, and embrace the necessary changes.
The most important part of cardboard prototyping is the process of prototyping itself. It helps to concretize the initial concept and explore its details, strengths, and weaknesses.


[…] The building process of this game will be written on a separate journal entry, titled “QWOP 2.0“, read this entry if you’d like to see our end result! For this day, we managed to […]
LikeLike